
Want to know how to use Vero True Social App? Read on to find out the 6 easiest ways to sign up on Vero as a beginner.
Social media isn’t going anywhere. Social media marketing is a crucial cog for any business or brand. Platforms rise. Platforms fall.
Will Vero buck the trend of “suddenly popular, gone by next week” that plagued apps-of-the-week like Peach and Meerkat? Only time will tell, but you have to admire the foundation and core beliefs behind the platform.
Fewer media. More social. No ads. No data mining. Be a user, not a product. True social.
A few of you may remember, but most might have missed it entirely: Around 2018, the mobile social networking app Vero experienced short-lived hype. Within a day the user numbers exploded from about 150,000 to over 3 million. However, Vero was not able to handle that load and many were disappointed by failed sign-ons and several other issues that resulted from the load.
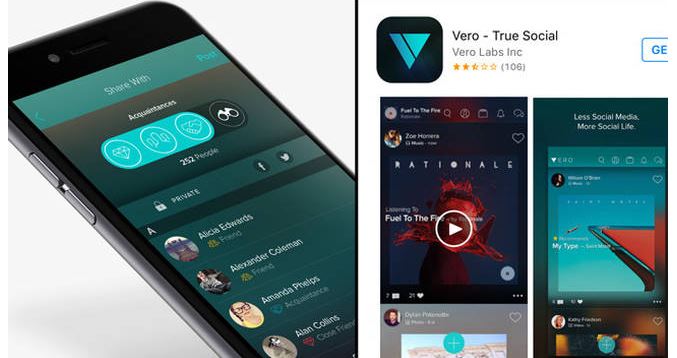
What is Vero?
Vero is a social media platform and mobile app company. Vero markets itself as a social network free from advertisements, data mining, and algorithms.
The app was founded by Lebanese billionaire Ayman Hariri who is the son of former Lebanese prime minister Rafic Hariri. The name is taken from the Italian word for truth.
The app launched officially in 2015 as an alternative to Facebook and their popular photo-blogging app Instagram. Within weeks of its release, the app surged in popularity although users expressed mixed reports with some feeling confused about how the app worked. However, Vero was not able to handle that load and many were disappointed by failed sign-ons and several other issues that resulted from the load.
Nevertheless, Vero is still alive and released a major update this year with Vero 2.0. For me, it is still the better Instagram from a photography perspective. Especially since it is way more than Instagram in some aspects and way less than Instagram in others.
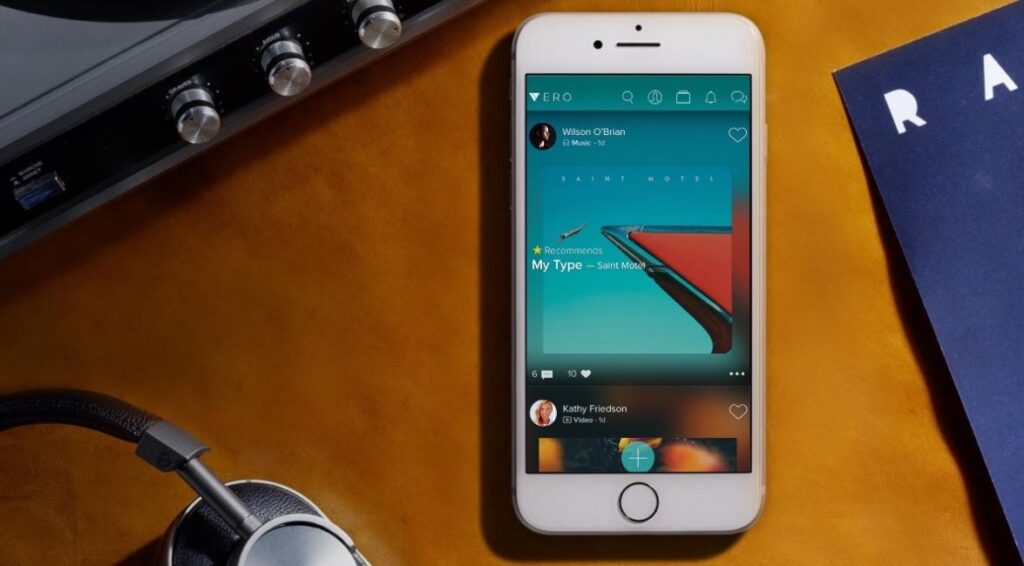
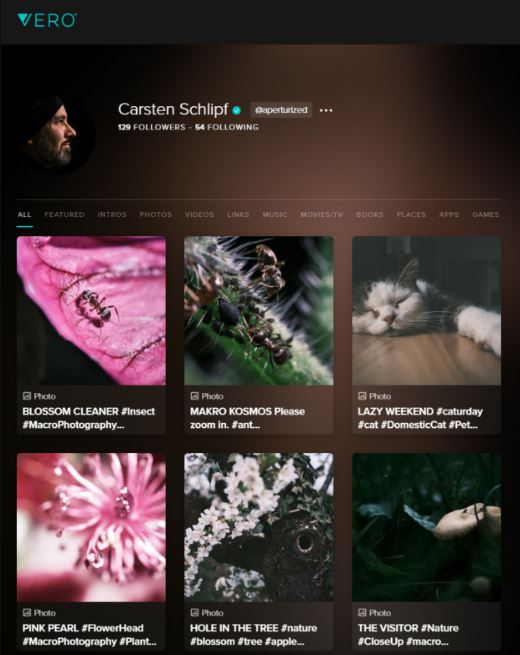
The Vero app is very similar to mainstays like Facebook, Twitter, and Instagram. You can post photos, videos, and links, share locations, or recommend books, music, and films. Others can like and comment on what you share.
Vero is just as safe as any other social media app we’re all already using. There’s always the risk of impersonators and identity thieves, but that’s usually outside of an app’s control.
Vero supports high-resolution images and they also support a desktop app, something that will make the photographer’s user experience far better than Instagram. One thing that will also make you like the app is its simplicity of once again only having a chronological timeline.
Having known these brief facts about Vero, let’s dive into how one can use the App as a beginner.
How to Use Vero
If you’ve ever signed up for a social media account, you’ll find Vero a breeze to get going. Even if you’ve never had a social media profile (those people still exist, right?), you’ll still find it a piece of cake.
Step 1. Download the Vero app
Vero is available for both iOS and Android.
Step 2. Sign up
Once you’ve downloaded and installed the app, you’ll have to provide a few details to get registered: your first and last name, your email address, and your mobile phone number. Within seconds, you should receive a text message with a 4-digit PIN that you need to enter in order to continue. This is used to verify your telephone.
Step 3. Add an avatar
After registering and verifying your details, you can write your brief bio – you’re given up to 150 characters – and select your avatar from either your image gallery or by taking a new photo within Vero itself.
4. Add connections
Your feed may look a little neglected at first because you’re not following anyone and you haven’t posted anything yet. But that’s easy to fix.
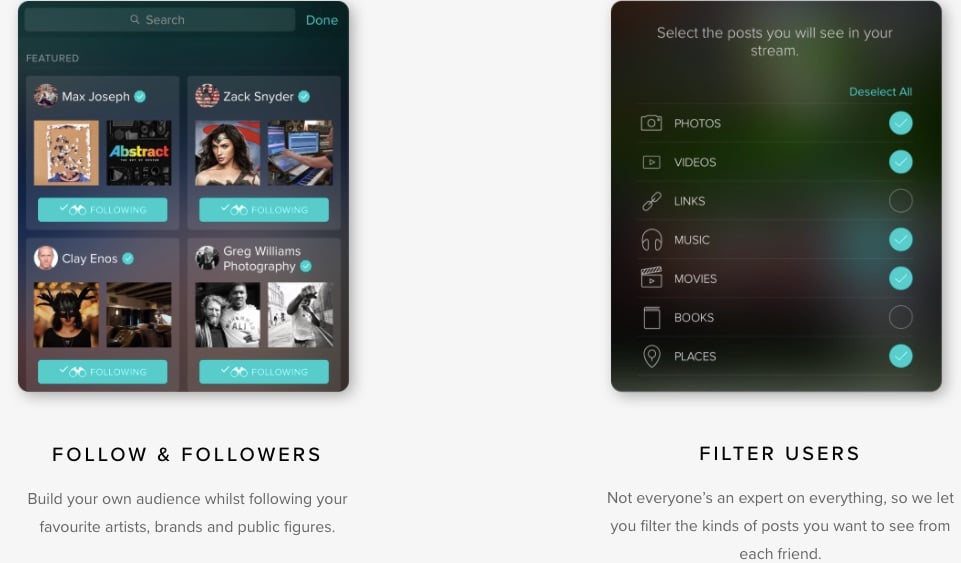
You can search for profiles to follow by name, hashtag, or keywords. Find the personalities and brands that matter to you, and follow them. Reach out to your friends, and connect (and assign them an appropriate connection category).
Add new connections at any time by clicking the teal + in the top-right corner of your connections dashboard.
Another great feature of Vero is the ability to filter what you see from every connection. Have that one friend who posts 30+ cat videos every day of the week? Turn off videos for that one person, and those damn cats will never clog your feed again.
5. Start posting
With a few connections under your belt, click the “+” button and make your first post. Share what you’re reading, watching, or listening to right now. Or let others know where you are right now. Or share a thought, photo, or video.
With its unparalleled control, you only share what you want with whom you want, and only see what you want from whom you want.
And everyone sees it all ad-free and in chronological order.
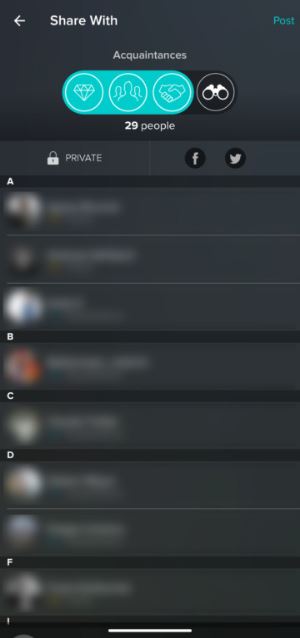
6. Choose to the category of your followers to see your post
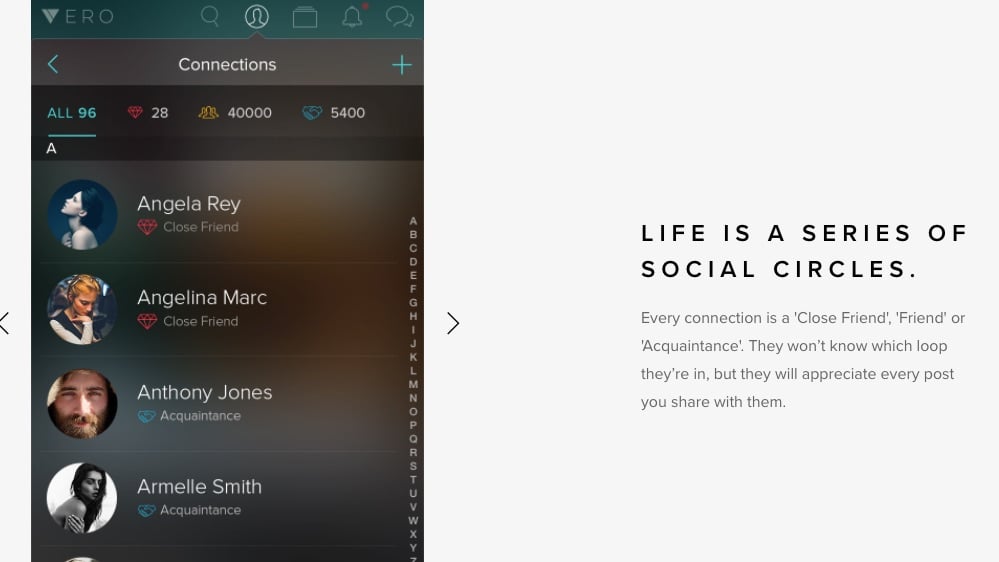
Joining Vero is very simple. Once registered you can complete your bio and start following other accounts. Here you can see the first difference between Instagram and Vero. On Vero, you can categorize your followers into four different types:
- Close friends
- Friends
- Acquaintances
- Followers
The concept is similar to Facebook lists but less complicated and every time you share something you can choose who can see the post without letting your followers know if they are included or not in the list.
It is also important to note that you can add Clickable links to post. There are no influencers and almost no attention whores, hence your posts follow no algorithms, Vero has no stories, there is real zoomingfinally, it has a beautifully designed.
Source: Neilpatel